Published November 4, 2026 by Redbud Ridge Roofing
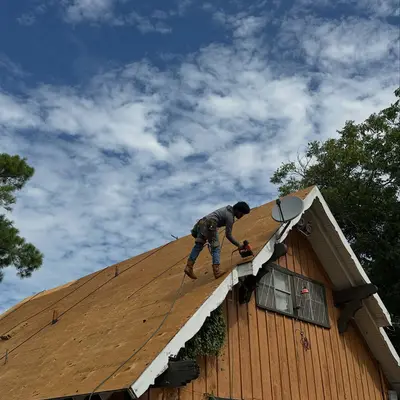
Hail season in northeastern Oklahoma usually peaks in spring, but damaging storms can arrive at other times too. After one passes through, it's tempting to climb up for a look. Please don't. Wet shingles are slick, storm debris hides soft spots, and most of the useful first checks can be done from the ground. This checklist walks through what to do in the first hours and days, in the order that protects both your home and any claim you may file later. If you already know the roof was hit, see our page on hail damage roof repair in Tulsa.
Step 1: Make sure the property is safe
Before you think about the roof, look for hazards. Stay clear of downed power lines and anything touching them. If you smell gas, leave and call the utility. Watch for large limbs that are hanging but have not fallen yet. If a ceiling is sagging or water is running near a light fixture, turn off that circuit at the panel if you can reach it safely, and keep people out of the room.
Step 2: Write down the storm details
Note the date, the approximate time and how big the hail looked. A photo of hailstones next to a coin or a ruler is useful if you have one, though few people think of it at the time. Neighbors, local news and weather services can help you confirm the date later. Accurate dates matter because insurers tie claims to specific weather events, and a roof may have been through several storms.
Step 3: Walk the property and photograph everything
Walk around the house and photograph anything that looks dented, cracked or out of place. Soft surfaces show the size and direction of the hail, so they are often the best early evidence. Take one wide shot to show where each item is, then a close-up. Check these places:
- Gutters and downspouts: round dents, and piles of granules at the downspout outlets.
- Window screens and frames: small tears, dents in aluminum and chipped paint.
- Air conditioner fins: flattened fins on the side that faced the storm.
- Fence caps, mailboxes and grills: fresh dents and spatter marks.
- Siding and painted wood: chips or dimples, usually on one or two sides of the house.
- Vehicles and outdoor furniture: dents that help show how large the hail was.
Spatter marks deserve a special mention. Hail cleans away oxidation and grime where it hits, leaving bright spots on metal, wood and even some concrete. Those marks fade over a year or two, so fresh ones help tie the damage to a recent storm. Photograph them early.
Step 4: Look at the roof from a safe spot
You can learn a lot without leaving the ground. Stand back from the house, or look from an upstairs window at any lower roof sections. A phone camera with zoom or a pair of binoculars helps. Look for shingles that are missing, lifted or folded, dark patches where granules are gone, and bent vents or flashing. Don't worry if everything looks fine. Most functional hail damage cannot be seen from the ground, which is why a calm result here doesn't settle the question.
What real shingle damage looks like
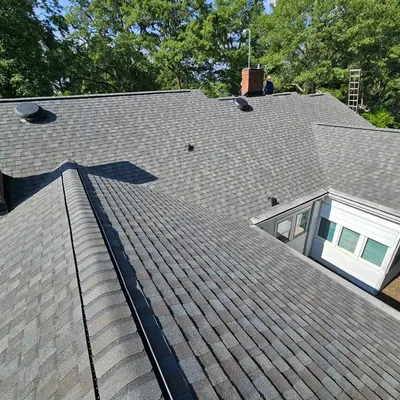
Dents on metal are a clue rather than proof. On asphalt shingles, an inspector looks for dark round spots where granules are missing, along with a soft bruise that gives under light pressure. Fractures in the mat matter most, since they let water reach the layers below. The hits usually look random, and they tend to appear on the slopes that faced the storm.
Some things can look like hail but are not. Blistering creates small craters as shingles age, foot traffic leaves scuffs in a line, and manufacturing marks repeat in a pattern. Mechanical damage from a dropped tool or a careless roofer tends to look different as well. That is one reason a trained eye helps, and why adjusters and roofers mark a test square on each slope and count the hits inside it.
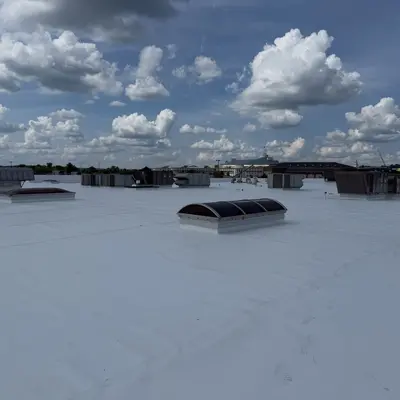
Other roof types behave differently. Metal panels often dent without leaking, so the question becomes whether seams, coatings or fasteners were harmed, and whether your policy excludes cosmetic damage. Tile and slate can crack, sometimes in ways that are hard to see from the ground. Flat roofs may show bruised membrane or crushed insulation under the surface. Our hail damage roof repair page covers each one.
Step 5: Check inside the house
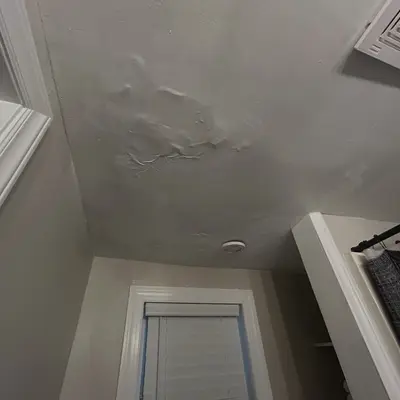
Even if nothing is dripping, take a few minutes to look indoors. Check ceilings on the top floor, especially around bathrooms, chimneys and skylights. If you have safe attic access, use a flashlight and look at the underside of the decking for wet spots or daylight. Step only on framing, and watch for wiring.
If water is coming in, move belongings and put down a bucket. Keep receipts for anything you spend on temporary protection, as your insurer may ask for them. Most policies expect you to take reasonable steps to prevent further damage, so a tarp or an emergency repair is usually a sensible step. Just photograph the damage first.
Step 6: Get a proper inspection
Once the storm has passed and the roof is dry, have someone inspect it who will show you the evidence. A useful inspection includes photos of each slope, a count of hits in test squares, notes on soft metals and vents, and a clear opinion on whether the damage is functional or only cosmetic. It should also tell you if the damage looks too minor for a claim. A roof inspection doesn't commit you to anything, and you can use the report to compare other opinions.
Step 7: Decide whether to file
Before you file, compare your deductible with the likely repair cost. Many Oklahoma policies carry percentage-based wind and hail deductibles, which can be higher than people remember. A 2 percent deductible on a home insured for $300,000 is $6,000, so a $2,500 repair would not reach it. Your declarations page shows your deductible, and your agent can answer questions about what a claim means for your policy.
Also look for your roof settlement type. Some policies pay replacement cost, some pay actual cash value after depreciation, and others use a schedule based on roof age. Time limits for reporting vary, so don't sit on the decision for long. Our guide to how a roof claim works in Oklahoma explains these terms and what happens after you file.
How long you have to act
Hail damage rarely turns into a leak overnight, which leads many homeowners to put it off. There are good reasons not to wait too long. Policies usually set time limits for reporting a loss, and those limits differ between carriers. Later storms can also muddy the picture, as it gets harder to show which event caused which damage. Meanwhile, bruised shingles keep losing granules, and exposed asphalt ages faster in the summer sun.
A sensible timeline looks like this. In the first day, handle safety, take photos and protect the inside of the house. Within the first week or two, get the roof inspected and read your declarations page. Then decide whether to file. If contractors are busy after a large storm, a temporary repair can hold things until a crew is available. Ask about their schedule, and make sure any delay doesn't push you past a policy deadline.
What to keep in your storm file
A simple folder, on paper or on your phone, makes everything easier later on. It helps if you file a claim, sell the home or need to prove when a problem started. Keep these items together:
- Photos of the property before the storm, if you have any, including real estate listing pictures.
- Dated photos of damage to soft metals, screens, fences and the roof.
- The inspection report and any test square photos.
- Receipts for tarps, temporary repairs and cleanup.
- Your claim number, adjuster's name and notes from each call.
- Your roof's install date, along with product and warranty papers.
It's also worth taking a few pictures of your roof and exterior on a clear day before storm season. Baseline photos are easy to take from the ground or an upstairs window, and they can help show what changed. A yearly inspection gives you an even better record, along with a chance to fix small problems before the next round of storms arrives.
Be careful with storm-chasers
Door knockers are common after large storms. Some are honest crews looking for work, and others leave town before any problems show up. Ask for their Oklahoma roofing registration, get everything in writing, and don't sign anything on the spot. A legitimate contractor will still be interested tomorrow. Be careful with these in particular:
- Anyone who climbs on your roof without asking.
- Offers to pay or waive your deductible.
- A contract presented as a simple form to "get the inspection started."
- Large payments requested before materials arrive.
- No local address, or a phone number that only reaches a cell phone.
The Federal Trade Commission's Cooling-Off Rule gives you a right to cancel many door-to-door sales within three days, though there are exceptions, including some emergency repairs. Read the cancellation terms on anything you sign. Our guide on choosing a roofing contractor in Oklahoma has a longer list of questions.
Your quick post-hail checklist
- Check for safety hazards first and stay off the roof.
- Write down the storm date and time.
- Photograph gutters, screens, AC fins, fences and siding.
- Look for missing shingles and granule piles from the ground.
- Check ceilings and the attic for water.
- Protect the home if water is getting in, and keep receipts.
- Schedule an inspection with photos and test squares.
- Compare your deductible with the likely repair cost before filing.
- Read every document before you sign it.
If you would like a second opinion or a documented inspection after a storm, request a visit and we will send photos and findings you can use whichever way you decide to go.